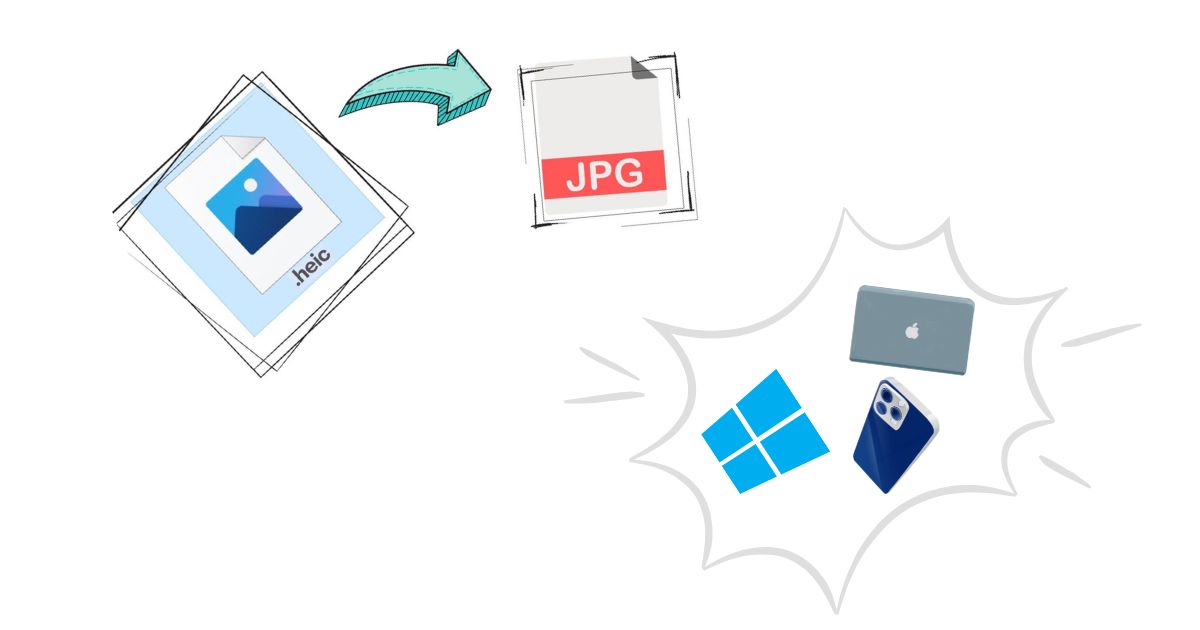
How to Efficiently Convert HEIC Images to JPG Format Across Different Platforms
Quick summary: This guide walks you through four reliable ways to convert HEIC images to JPG — using our online converter, the Windows Photos app, Mac Preview, and an iPhone Files/Shortcuts method. Each section includes step-by-step instructions, screenshots suggestions, and the pros & cons so you can pick the best method for your needs.
Convert HEIC to JPG Online (recommended for speed & batch conversion)
Best for: quick conversions, batch jobs, and users who want an immediate result without installing anything.
How to convert using our online tool
- Visit heic2jpgs.com, a free online tool that quickly converts HEIC files to JPG format.
- Drag & drop your HEIC files onto the upload area or click the upload button to select files from your device.
- Choose any conversion options offered (quality/size) — many tools let you pick JPEG quality or keep EXIF data.
- Click Convert. Wait a few seconds — large batches may take longer.
- Download the converted JPG files (usually provided as a ZIP if you converted multiple files).
Why use an online converter?
- No installs, works on any OS (Windows, Mac, Linux, Android).
- Batch conversion — convert many files at once.
- Simple UI and fast results for most users.
Privacy tip: If your images are sensitive, check the site's privacy policy and whether files are deleted after conversion. Our site lists its policy at Privacy Policy.
Convert HEIC to JPG on Windows (Photos app)
Best for: users who prefer a built-in app and single-file edits without leaving Windows.
Pre-steps (may be required)
Windows 10/11 often requires the HEIF Image Extensions from the Microsoft Store to view HEIC images in Photos. If your HEIC file doesn't open, install that extension first.
Step-by-step (Photos app)
- Right-click the HEIC file → Open with → Photos.
- Once the image opens in Photos, click the three-dot menu (⋯) in the top-right or the toolbar.
- Choose Save as (or Save a copy depending on your Photos version).
- In the save dialog, pick a file name and set Save as type to JPEG if available. If the Photos app does not show a type selector, choose a destination and save — Photos will typically export as JPG by default for some versions.
- Verify the saved file has a .jpg extension (open it in any image viewer).
Alternative Windows options
- Right-click → Open with → Paint (Paint will often open HEIC after the HEIF extension is installed and let you Save As → JPEG).
- Use a lightweight batch tool or our online converter for many files at once.
Convert HEIC to JPG on Mac (Preview)
Best for: fast single-file or small-batch conversions on macOS — Preview handles HEIC natively.
Step-by-step (Preview)
- Double-click the HEIC image to open it in Preview (or right-click → Open With → Preview).
- From the top menu choose File → Export… (not Export As; either may appear depending on macOS version).
- In the Export dialog set Format to JPEG.
- Use the Quality slider to pick the trade-off between file size and image quality.
- Choose a destination and click Save.
Batch convert in Preview
- Select all desired HEIC files in Finder, right-click → Open With → Preview.
- In Preview’s sidebar select all thumbnails (Cmd+A).
- File → Export Selected Images → Choose JPG as format → Export.
Note: Preview preserves most metadata (EXIF) unless you explicitly remove it during export.
Convert HEIC to JPG on iPhone (Files app + Shortcuts)
Best for: users who need a native iPhone-only solution without sending files to a PC — ideal for quick on-device conversion and saving back to Files or Photos.
Why not always Photos? (Short answer)
iPhone Photos app stores images as HEIC by default. Photos doesn't offer a direct “Export as JPG” button for existing images, so using a small Shortcuts workflow or sharing via Mail is the most consistent method.
Method A — Quick convert via Mail (no Shortcuts required)
- Open Photos and select the HEIC image(s).
- Tap Share → Mail.
- Compose and send the email to yourself — Mail converts attached images to JPG.
- Open the email, download the JPG attachments and save them to Files or Photos.
Simple but clunky for many files and not ideal for privacy-sensitive images.
Method B — Create a Shortcuts action (recommended)
This creates a one-tap converter that accepts images and writes JPGs to Files or Photos.
- Open the Shortcuts app on your iPhone.
- Tap + to create a new shortcut. Add the action Get Selected Photos (if you will run the shortcut from the share sheet, use Select Photos).
- Add the action Convert Image — set it to convert to JPEG and pick a size/quality if you want.
- Add Save File (to save to Files) or Save to Photo Album (to save back to Photos) as the next action.
- Enable Show in Share Sheet in the shortcut settings so you can run it directly from Photos or Files.
- Run the shortcut: select images in Photos or Files → Share → choose your shortcut → it will output JPGs to the chosen destination.
This method is private (no server upload), fast for small batches, and reusable.
Pros & Cons — Which method should you pick?
Online converter (heic2jpgs.com)
- Pros: No install, fast batch support, cross-platform, straightforward UI.
- Cons: Requires upload — check privacy policy for sensitive images, depends on internet speed.
Windows Photos / Paint
- Pros: Built-in, no external tools needed (after installing HEIF extension), good for single files.
- Cons: Batch support is weak; slightly inconsistent UI across Windows versions.
Mac Preview
- Pros: Native support, easy batch export, preserves EXIF unless you strip it.
- Cons: Only on macOS, fewer automation options than dedicated apps.
iPhone (Shortcuts / Mail)
- Pros: Works on-device (private), flexible (Shortcuts), handy for mobile workflows.
- Cons: Shortcuts require setup; Mail method is clumsy and may reduce image quality depending on settings.
FAQ & Troubleshooting
Q: Why are my HEIC files not opening on Windows?
A: Install the HEIF Image Extensions from the Microsoft Store. After that, Photos and Paint can open HEIC files.
Q: Will converting HEIC to JPG reduce image quality?
A: JPEG is a lossy format — converting from HEIC (which is often more efficient) can slightly reduce quality depending on the chosen compression level. Use higher quality settings if you need fidelity.
Q: Do I lose metadata (EXIF) when converting?
A: Some tools preserve EXIF (Preview, many online converters if enabled). Always check tool settings if keeping metadata is important.
Q: Is it safe to upload private photos to an online converter?
A: Only use services with a clear privacy policy and automatic file deletion if privacy matters. For sensitive images, use an on-device method (Shortcuts/Preview/Photos).
Conclusion & Next Steps
Converting HEIC to JPG is straightforward — pick the method that matches your workflow:
- For speed and batch work: use the online converter at heic2jpgs.com.
- For native desktop conversions: use Preview on Mac or Photos/Paint on Windows.
- For mobile privacy: create a Shortcuts converter on your iPhone and run it from the share sheet.